


 After i got my normal maps and ambient occlusion map i headed into Quxicel i added my low helmet obj with the normal and occlusion then got to work with adding and changing the materials i wanted to give the helmet the rough old look, like it had been used by an old veteran of the game and he kept it after his retirement. I went for a blue faded metal for the base so it gave it a feel of a aged metal which had been painted and the paint has bee wearing of, I made sure to give it some stains from playing with dirt and paint fading. For the face mask/ bars as they are a thin metal compared to the rest of the helmet i wanted to show that, they wouldn't be able to take the punishment and weather like the core can. So i can it a mass rusting which flakes on the dents in the bars.
 With the wings i did they same as they base because they would have been made out of the same material only they would have been engraved and treated to make it the white colour, i also cause of the engravings made it have paint chip marks and grass stains all over it. I am really pleased with how these have come out and i can wait to see what look like unreal 4.
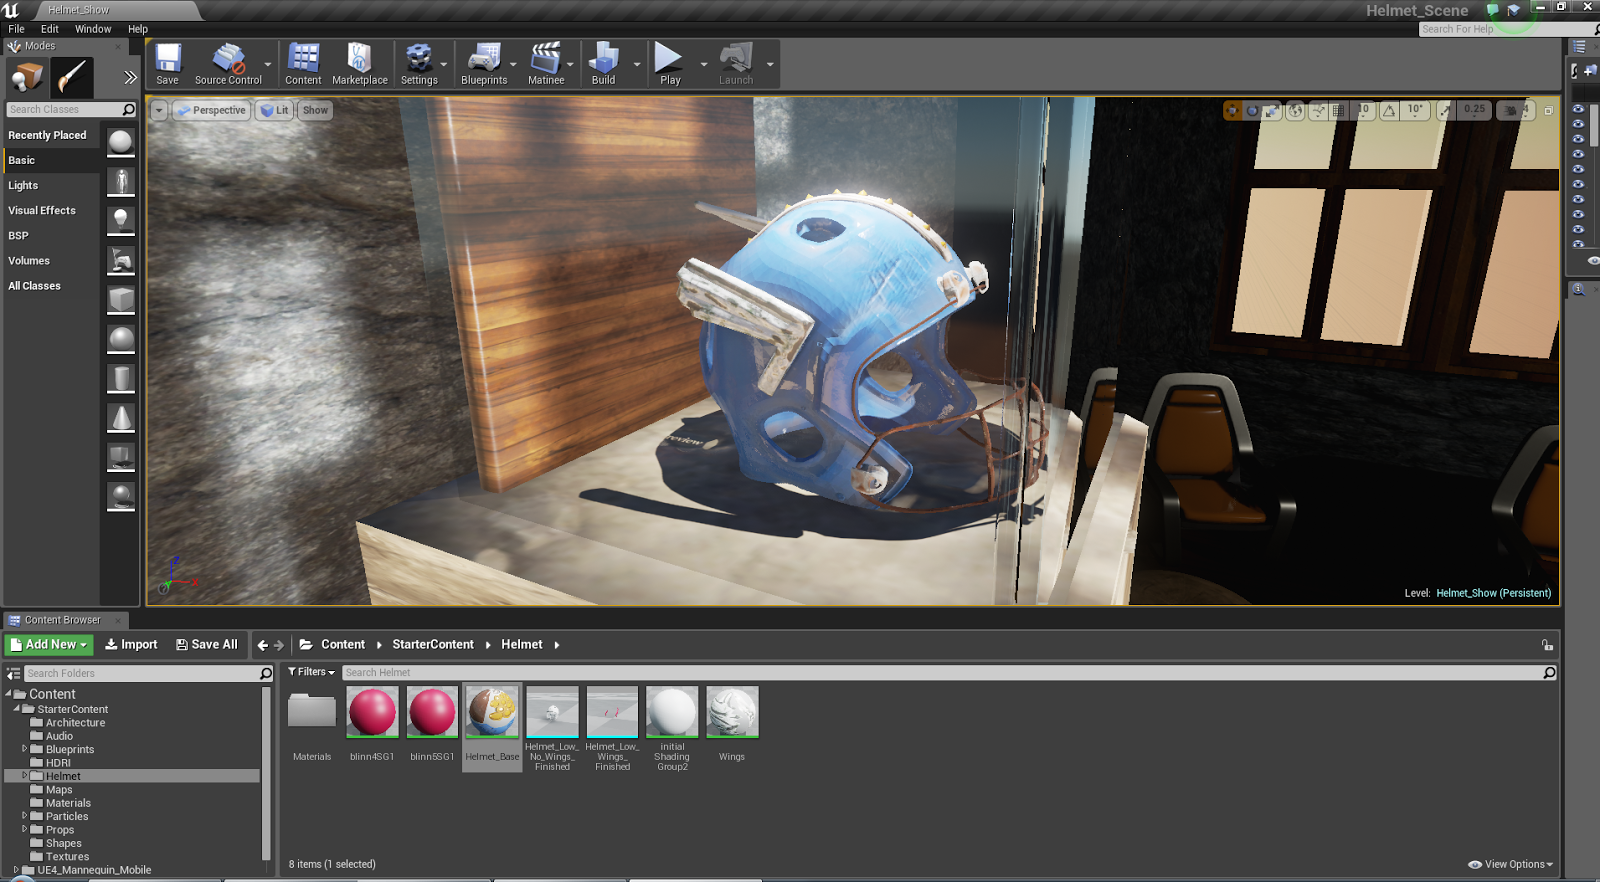


