Monday, 11 April 2016

3D Environment: Base Stand

 I have been thinking how i wanted to tackle of what i was going to go do for the ground for a while now but i came up with doing a diorama stand for it to sit on similar to the ones you would see on Warhammer 40k models were you a small stand to places you model on top of and the stand would give you small sections of the earth which that character would be standing on.
I loved the idea so i made a stand which my house could stand on, with a simple grass land which has been left still how some remnants of the person who once lived there, with some smalls rocks, a group of logs and section of fence which has rotted down to just posts. Hopefully this idea works as well as i think it will but we will just have to see when i put it all together in unity.


3D Environment: GrindStone

 More flavor pieces ! flavor pieces everywhere !
I really want to make sure the surrounded areas around the house have got lots of tools which have been left behind by the last owner and are slowly dying. This a Grindstone which has been left to be battered by the elements.
Grindstones were used all across the world to sharped tools and weapons and many other uses.


3D Environment: Windows

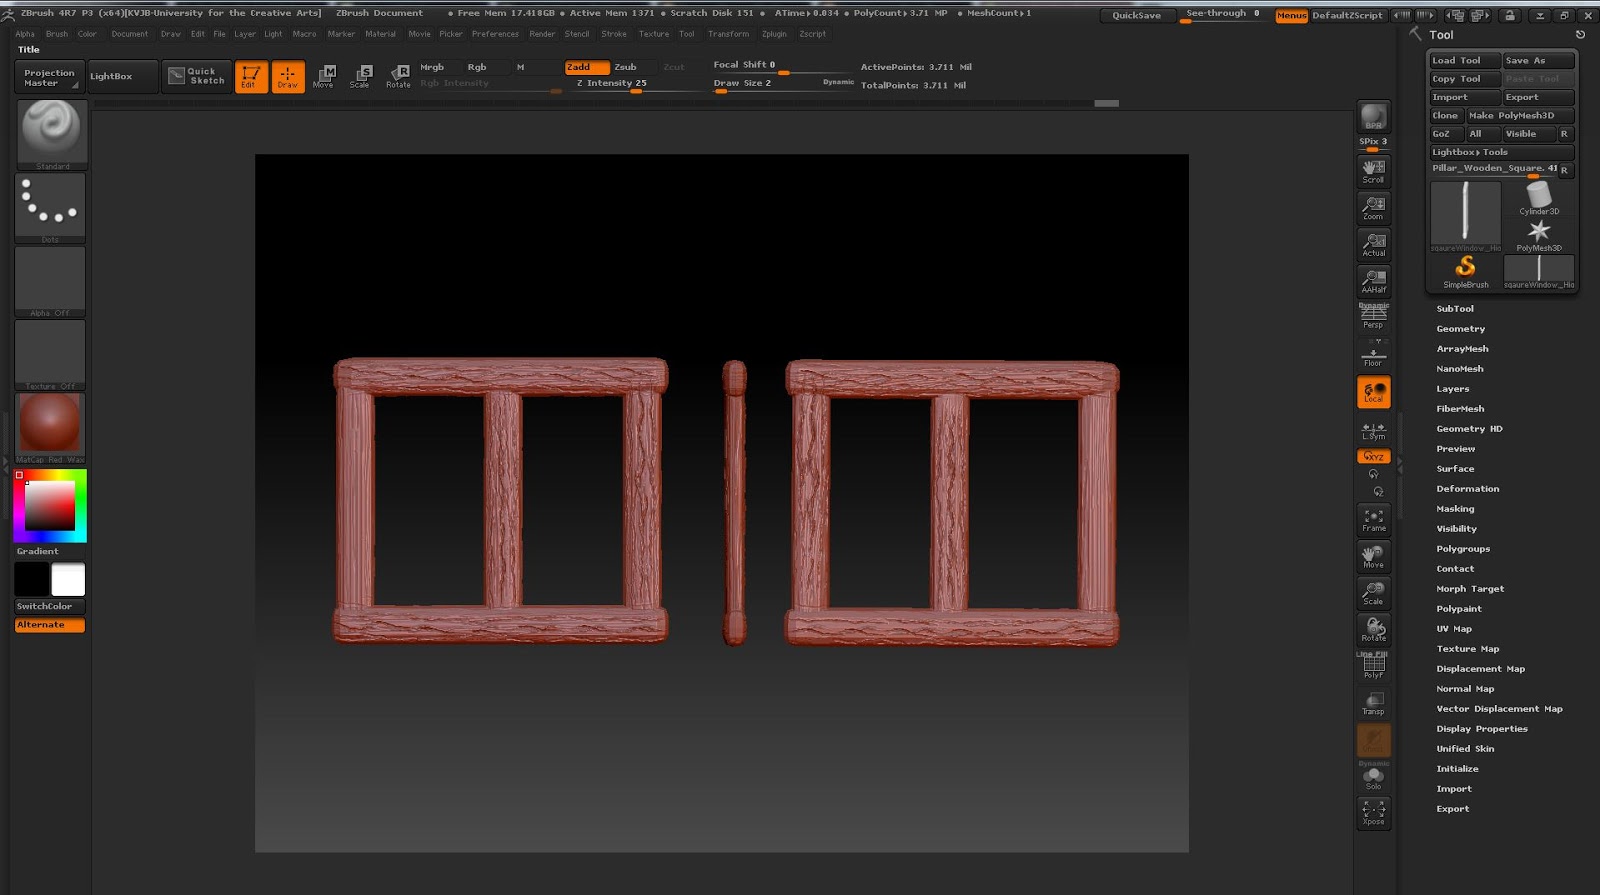
 Now to add some flavor to the size of the building, with the addition of some windows. I wanted to make the idea of the plastic life grade rings which didn't exist in that time but our brain subconsciously thinks if that shape meaning the sea-side so i figured i would use that to my advantage.
So i made one round window and one square one which can be used around the house, the models came out quite nicely i'm pleased with how i have shown the wood warping under the weather. I made the glass texture by using a plane and creating an alpha with low opacity and some small smudges on it to make it look dirty and scratched.


3D Environment: Blacksmith Sign

 Now the whole of the base of the house has been modeled !! i can start making some extras to bring some character in the building, bring it to life. First step was to define it as a blacksmiths shop and no easier way to do than to make a sign to advertising the place.
I made a simple sign which will stand on the side of the building, it made of the same wood as the other pieces and held in to the build with to rusting pig iron bars with a cast iron anvil sign showing the public what the house does.
For a simple model it is one of favorite in the project so far.


3D Environment: Roof Tiles

 Now i have all the walls modeled with the roof frames put in as well i have been experimenting with the roof tiles. I wanted ti make them with slate as that was a common material around the time but was also an expensive one but i figured as a blacksmith he would be doing fairly well money wise to be able to afford some luxury's.
This would have work but once a i had used the slate texture on the roof there was something about the look which i didnt like, maybe it was the tiling or the ridges in my model which didnt matching how slate tiles would be placed it just did not look as good as i wanted it to.
I did some more research into what materials med-evil buildings would have used for roofing, the materials which were used are, straw/thatch, clay and slate i disliked the idea of straw so clay was the next best options and the different shades of orange came out really well, and i'm pleased that this changed came. Sometime the unexpected is good !.


3D Environment: Brick Wall

 Now that i had most of the wood made i thought it was time to get the foundations of the house going so i could see how the form was taking shape. The idea was to create a brick wall which was made out of the classic building method where they would find rocks of varying sizes and stand them on top of each other small rocks in between so it would put pressure on the rocks below so creating a solid structure. I wanted to make this jumble of rocks look and have the rocks cracking with them having moss growing all of them so they looked aged. I feel like i did this well but if i have time i think i will redo the UV map/low poly because it was hard top make the low poly because of how many separate elements there was and all being made of triangles of the deformation master in Zbrush.


3D Environment: Roof Planks

 Continuing forward with the project i wanted to create all the wood for the house at the same time so i could get used to the work flow and perfect the design so i could do it quickly.
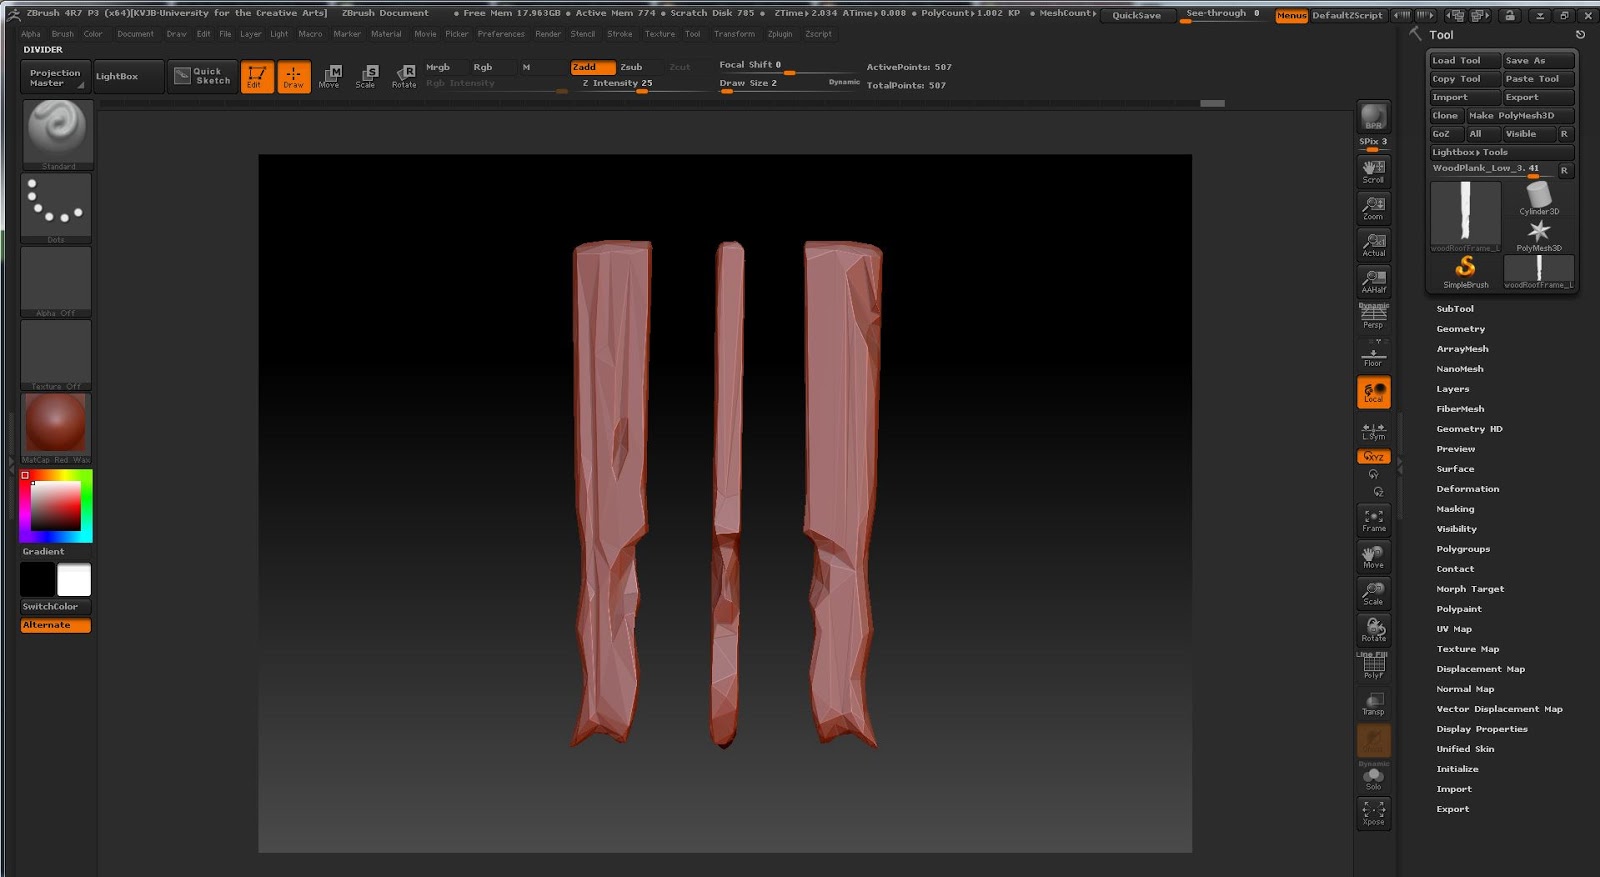
These models are made for the side connects of the roof which the roof tiles will be held into, As larger pieces of wood they would have move surface area for moss and grime to grow but unlike the thinner planks it will be harder for the rot to get inside the rot so the wood still retains most of it original colour.
Overall i am really happy with them, they look worn but not to much so you can still they would be able to hold a large amount of weight which is why the roof is still standing.
 Some thing which could be better on them is i might want to make another models along these lines so it doesn't look all the same, but i am torn by doing this because they would have sued the same wood so it would rot in the same way.